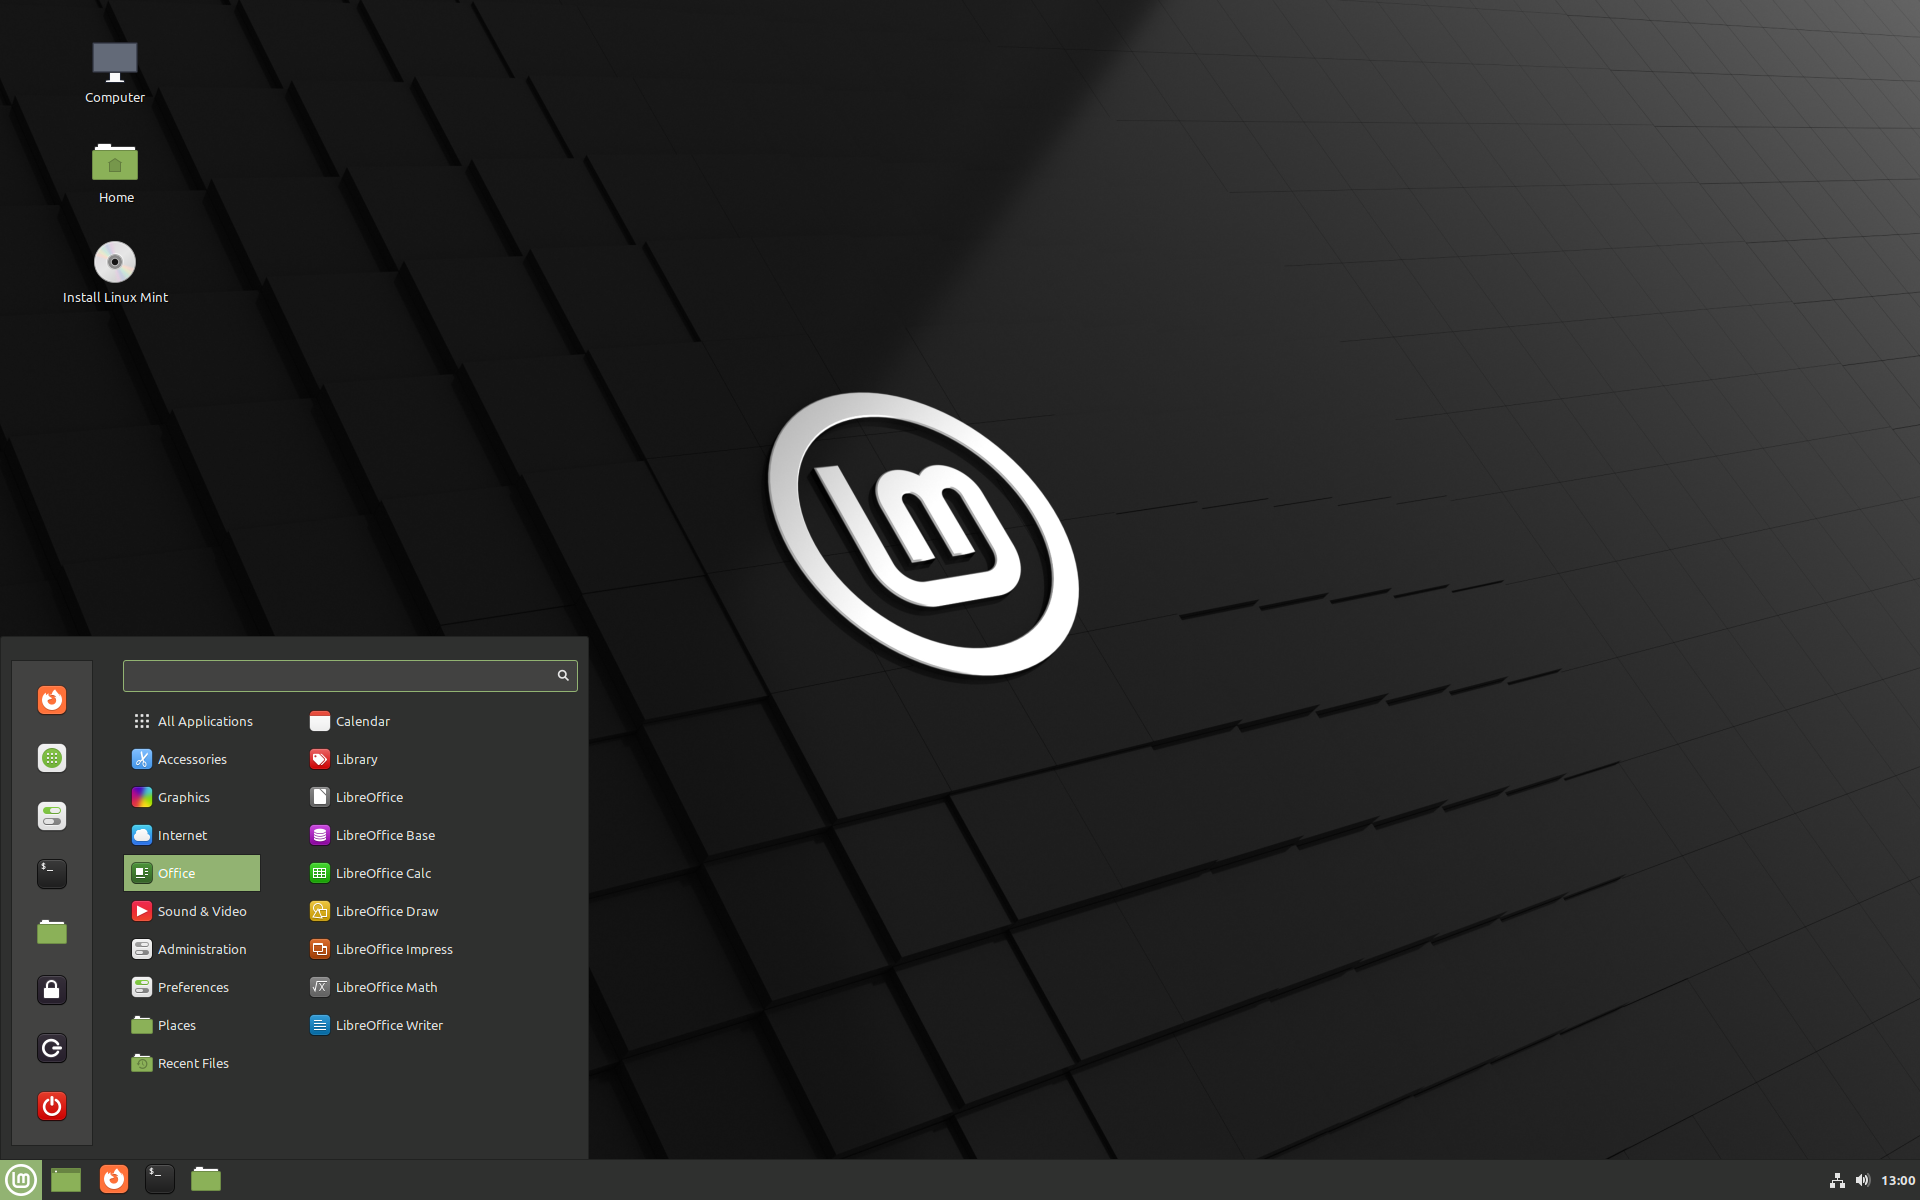
SIMPLE OVERVIEW:1) boot live linux (or use an existing Linux system)2) mount drive to copy rescued files to 3) mount damaged drive 4) rsync files from damaged to rescue drive 5) shut down the live linux by typing "init 0" or selecting "QUIT" and "Shut down" from the "LM" icon/menu slightly more detailed entire process outline:download iso for Linux Mint Mate (select that version only)download sketcher (link below) burn the linux mint mate iso to the USB thumb drive (or DVD) Before powering up Live Linux, you might disconnect all internal drives on your PC Do NOT connect the damaged drive or the rescue drive boot your pc to the USB drive or DVD - select START Linux Mint Mate once booted open a Konsole window (it'll be black background, change the colors in preference: black on light yellow) after the Konsole window is open you will be logged in as "mint", password is also "mint" you will execute commands that require root privileges. this is done using "sudo" you can execute each command as shown prefacing the command with "sudo", or you can switch to root user. recommend that. so, at the command prompt in the KONSOLE window, type: sudo su - the prompt should show "root" as your user name we're going to type "fdisk -l" to see the drives in your system (you'll see the boot media and any drives you left connected) then we're going to plug in the RECOVERY disk and mount it to your system - check to make sure you can read/write to it. then we'll plug in the DAMAGED drive and mount it... and WORK FAST to get the files off (YOU HAVE THREE OPTIONS: using "dd", "cp" or recommended, "rsync" rsync is the best option - once the DAMAGED DRIVE is mounted and readable it should work until you've copied all files... if it's in a bad way and starts overheating it might stop working... if so, don't shut off the linux system, but umount the drive and REFREEZE for a few hours, then remount and execute the rsync command as before and it'll pick up where it left off. once both drives are mounted, type "df -h" and you will see the space available on all mounted drives. from the KONSOLE window you will copy files FROM the damaged drive to the RESCUE drive. When done, just shut it all down from the command line, disconnect the drives take the RESCUE DRIVE and connect it to your windows machine and see if your files are all there. You can use that LIVE boot USB anytime to play with Linux or rescue other drives. when done you can properly umount the drives, or safely shut the system down with the command "init 0" or select shutdown from the menu... STEP BY STEP1) download that iso image for Linux MINT MATE (recommended over the other versions) from a mirror closest to you 2) while waiting for the download: RTM Linux Mint Installation GuideLinux Mint comes in the form of an ISO image (an .iso file) which can be used to make a bootable DVD or a bootable USB stick. This guide will help you download the right ISO image, create your bootable media and install Linux Mint on your computer. Live Boot Create the BOOT USB stick or DVDreference only, instructions needed on this page: https://linuxmint-installation-guide.readthedocs.io/en/latest/burn.html Create the bootable mediaThe easiest way to install Linux Mint is with a USB stick. If you cannot boot from USB, you can use a blank DVD. How to make a bootable USB stickIn Windows, Mac OS, or other Linux distributionsDownload Etcher, install it and run it. Click Select image and select your ISO file. Click Select drive and select your USB stick. Click Flash!. In WindowsRight-click the ISO file and select . To make sure the ISO was burned without any errors, select . 4) BOOT TO THE LIVE VERSION OF LINUX(do NOT click on "install", unless you want to install, it will guide you to dual boot with Windows)Screen shots from a previous dual-boot install with Linux Mint MATE here: http://johnmeister.com/linux/MINT-MATE-dualboot-Win10/tindex.html Boot Linux MintAT THIS POINT the damaged drive and the drive you plan to copy files are NOT connected. Now that you have Linux Mint on a USB stick (or DVD) boot the computer from it.
Note Most BIOS have a special key you can press to select the boot device and all of them have a special key to enter the BIOS configuration screen (from which you can define the boot order). Depending on the BIOS, these special keys can be Escape, F1, F2, F8, F10, F11, F12, or Delete. That information is usually briefly written on the screen during the boot sequence. The Linux Mint ISO can be booted both in EFI or BIOS mode. In EFI mode it shows a grub menu. In BIOS mode it shows an isolinux menu. https://linuxmint-installation-guide.readthedocs.io/en/latest/install.html 5) YOU ARE NOW IN A LIVE LINUX SESSIONThe live sessionWhen you boot the computer from the USB stick (or DVD), Linux Mint starts a The
6) NOW THE EASY PART - PREPARING to SAVE FILESOpen a KONSOLE window - it's the little black box 4th down with the $ sign (that's a prompt) your user name is "mint", I believe the password is also mint. You will use the "sudo" command to execute the commands. NOTHING YOU DO AT THIS POINT AFFECTS the hard drives on your system, they are NOT mounted yet to this Operating System Personal preference: change KONSOLE profile to "black on Light Yellow" - easiest to see... After you've adjusted your KONSOLE window so you can see better, then type the following command: sudo fdisk -l this command identifies the drives on the system. all drives will be mounted in the /dev directory (devices) TAKE NOTE of what is there and by the size you should see your internal drives. (or you could unplug all of them for this and then it'll be very simple to see the damaged drive and the drive you're going to mount to... YOUR CHOICE) The drives you plug in to save to, and to rescue will likely be /dev/sdb and /dev/sdc if you only have the thumbdrive in... easy to see the order and SIZE. Because your damaged drive is already formatted you will just look for it and it'll show up however it is formatted, if it's still readable. The rescue device may already be formatted as windows or linux, and should be able to mount without challenges. AT THIS POINT in your KONSOLE WINDOW, switch to ROOT user. At the Konsole prompt type: sudo su - (the password for mint user should be mint) Your prompt should have "root" as the user; you can type "whoami" (the prompt could be $ or some other character or string. --> whoami root you are now ready to copy files... ----------------------------------- 7) CONNECT THE RESCUE DRIVEConnect the rescue drive and mount it. type: fdisk -l (note the /dev/sdb1 (guessing, ymmv, look at fdisk -l to find it) ) find the designator for the part of the drive you wish to mount if it has multiple partitions type: mkdir /root/rescue mount /dev/sdb1 /root/rescue ls -al /root/rescue you should see whatever is on that drive... but create a NEW DIRECTORY on that drive for the FILES: mkdir /root/rescue/RESCUED touch /root/rescue/RESCUED/files-go-here.txt ls -al /root/rescue/RESCUED/ (you should see "files-go-here.txt" (0 bytes) - if you do, you are READY to mount the FAILED drive) df -h (you should see your original thumb drive and the rescue drive listed with space used, etc.) 8) CONNECT THE DAMAGED DRIVE and COPY FILESConnect the damaged drive and we'll mount it to damaged type: fdisk -l (look for the latest drive, likely will be /dev/sdc1 (look for the largest partition, might be sdc2) mkdir /root/damaged mount /dev/sdc1 /root/damaged ls -al /root/damaged (you should see what is on that drive... if you see files, START COPYING RIGHT AWAY, you're on BORROWED TIME! TWO OPTIONS: if there's a lot of files you want to use rsync, if just a few files, "cp" will work, both work the same but rsync allows you to restart a copy SIMPLE VERSION if there's not a lot of files: cp -r /root/damaged/* /root/rescue/RESCUED/ BETTER, especially IF THERE ARE A LOT OF FILES AND DIRECTORIES use this command: rsync -rth --progress /root/damaged/ /root/rescue/RESCUED/ (it will display the files as it copies them from the damaged drive to your other drive... IF the process is interrupted, you can repeat the same command in the same location and it will pick up where it left off... this is the better approach) (the "r" is for recursive, goes down the directory tree, "t" is for time, keeps the date/time stamp, "h" is for human readable sizes, "progress" shows what is going on) WHEN it stops, type: ls -al /root/rescue/RESCUED/ (are your files on the "good" drive? if so you are done (the next command shows how much space was used) df -h IF FILES TRANSFERRED properly then you can umount the drives: umount /root/rescue umount /root/damaged or just type "init 0" in the Konsole... or go to the menu, select "QUIT" and "shut down" JohnMeister.com Today's Date:
|


